Let's Connect fastest growing future tech web 3.0 blockchain group to connect & share with same minded people
R3 Corda Blockchain – Configuring and Running nodes
 Blockchain
This blog is for the tech person who is interested to learn about R3 Corda blockchain. Still don’t know whether R3 Corda should be called a blockchain or not as access to the network is restricted and private. Let’s not divert the topic of this blog and come straight to the point of the blog.
Pre-requisite for this blog to start is having clear idea about basic concept of R3 Corda blockchain (Key concepts – R3 Documentation)
In detail explanation, what is nodes and how to configure and run nodes is explained and mentioned at What is a Corda node – R3 Documentation (official site of R3 Corda). You have to read all the pages and then start working on nodes. Here, I have explained in simple terms how to configure and run nodes in the corda blockchain network.
What is nodes?
In a simple way, it is a member of the network who has a direct or indirect link with a transaction between multiple counterparties/members/nodes. For e.g. if Corda blockchain is created between multiple banks, then banks will become nodes of the Corda blockchain network. Depending on the nature and transaction behaviour setup between these nodes, they will be considered as individuals and businesses.
In a few steps you can actually configure and run nodes in the Corda blockchain.
- Create node’s config files
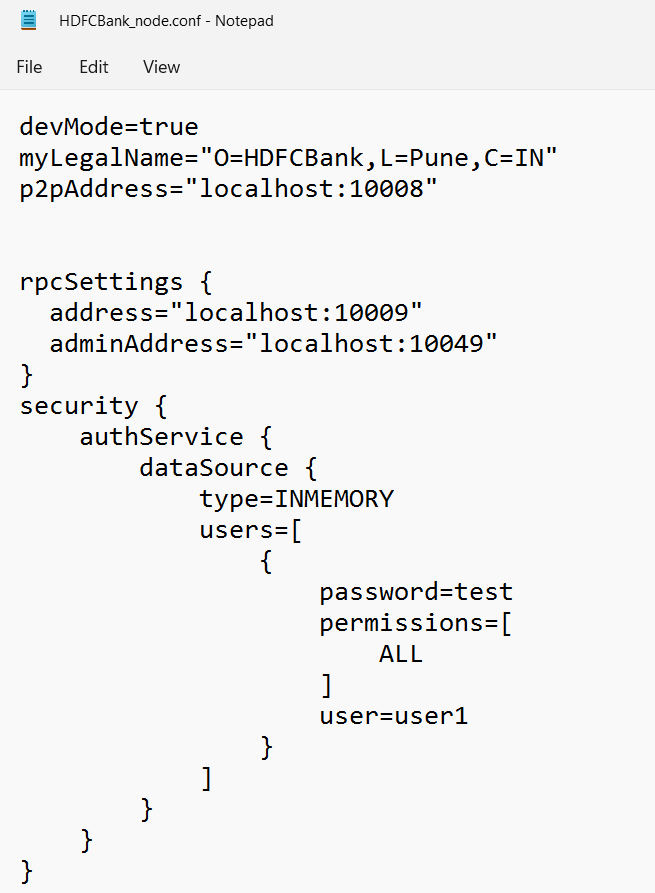
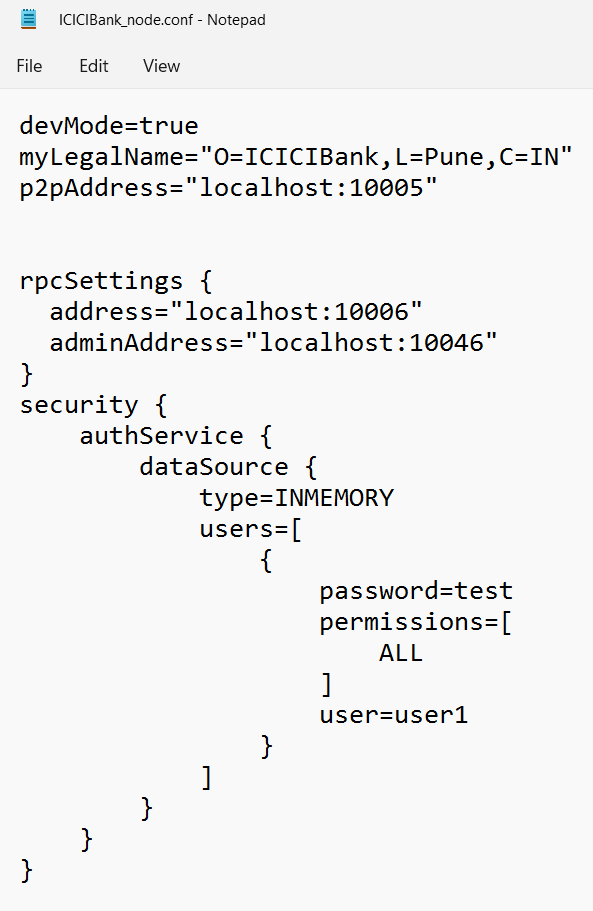
- Make sure the port numbers are different in the same and other config files too.
- There might be some parameters not required here still nodes would come up.
- The current nodes would come up as they are hosted in a DEV (not Production) environment.
- The config files should be XXXX_node.conf and XXXX will be taken as the only node name.
- Setup the project in IntelliJ IDE
- Configure and setup nodes
- Run the nodes
The configuration files with all the details of nodes are required to be mentioned in the file. Accordingly, the nodes should be configured and running. Create 2 config files with respect to the nodes that you want in the network. More config files can also be created but keeping the content to the simple, so I am taking only 2 node config files.
Note:
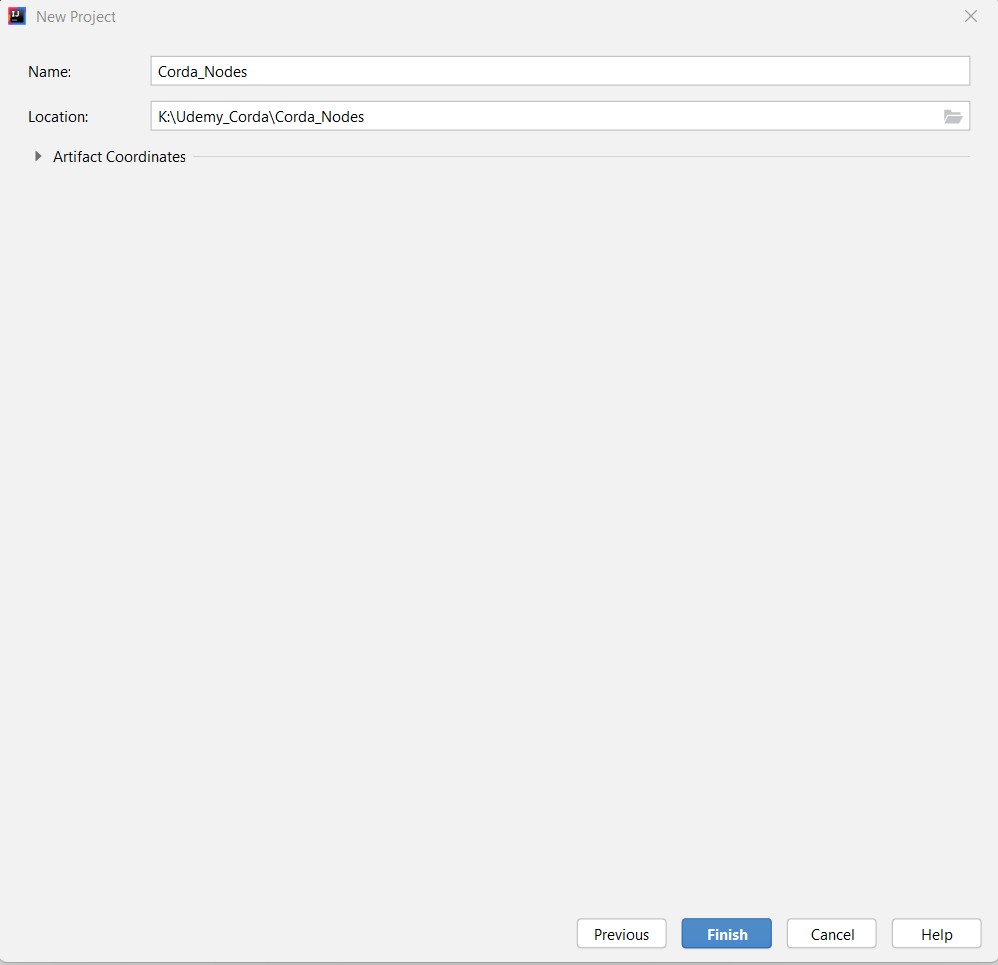
After creating the projects the folder structure is as below.
Copy 2 config files created in step #1
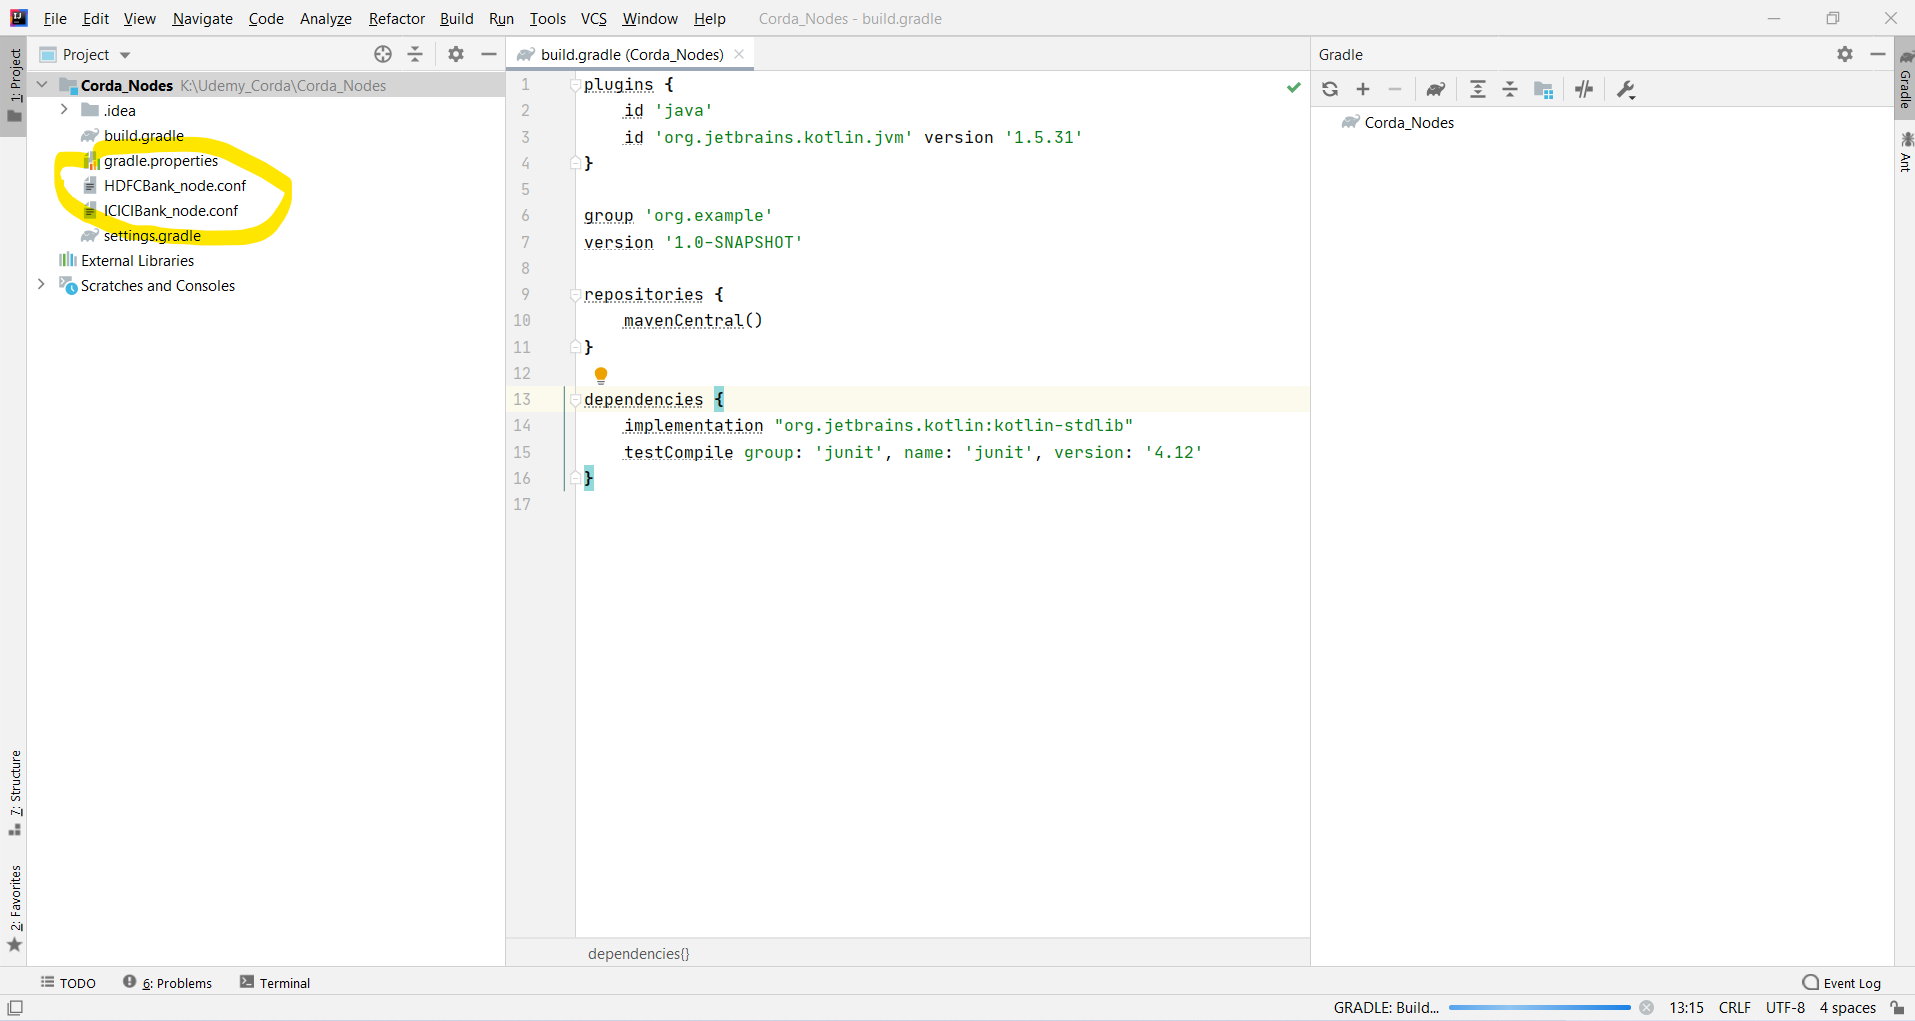
All we are done with config files and creating the project. Moving ahead to download and copy the jar file required to set up the nodes.
Download the corda-tools-network-bootstrapper-4.9.jar from this link.
corda-tools-network-bootstrapper-4.9.jar – This will configure your nodes and also run the database migration script that is required to store transactions and other workflow activities.
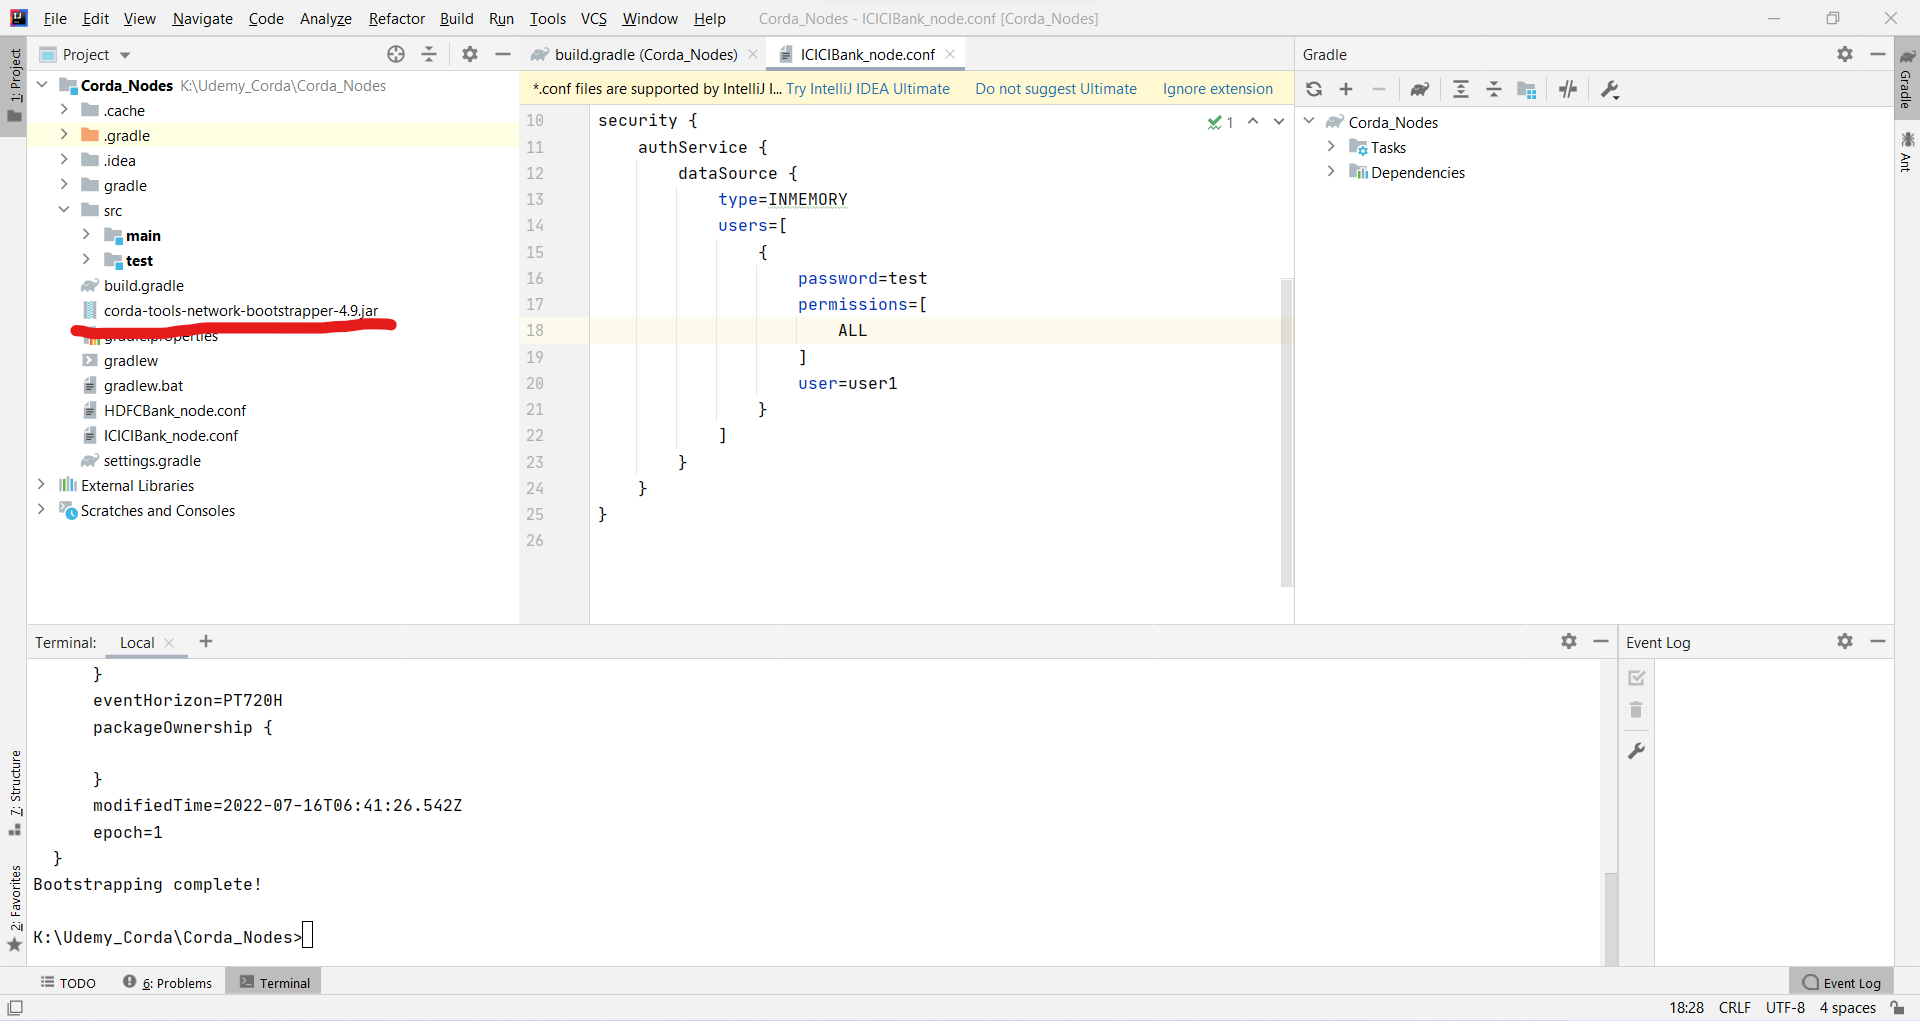
We are all set to configure and set up nodes. Why I am saying “configure” is because till now we only worked upon creating config files for the nodes. The real configuration of the nodes will happen now after this step is completed. Let’s proceed.
Go to terminal of IntelliJ IDE and type below commands
java -jar corda-tools-network-bootstrapper-4.9.jar
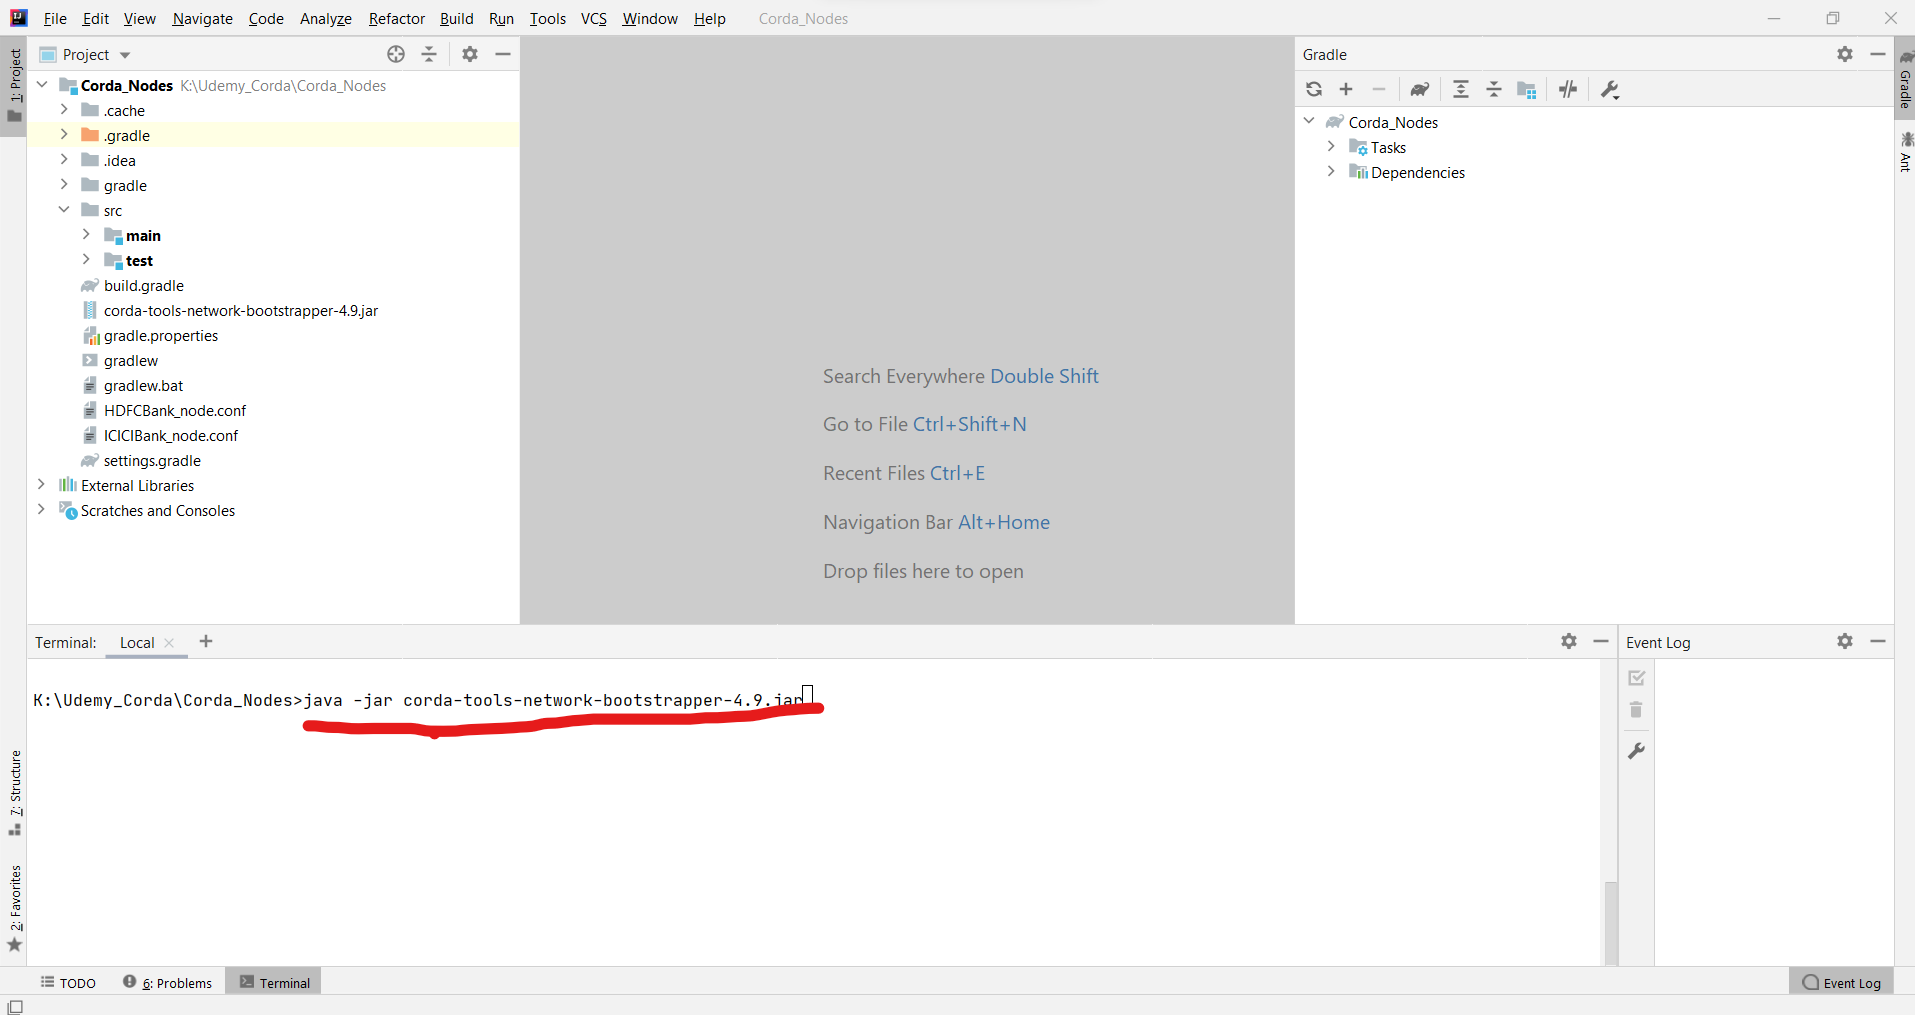
At the last, you will see below results if nodes are configured successfully or not. Here, we are configuring nodes, so folders will be created as per each node’s config file.
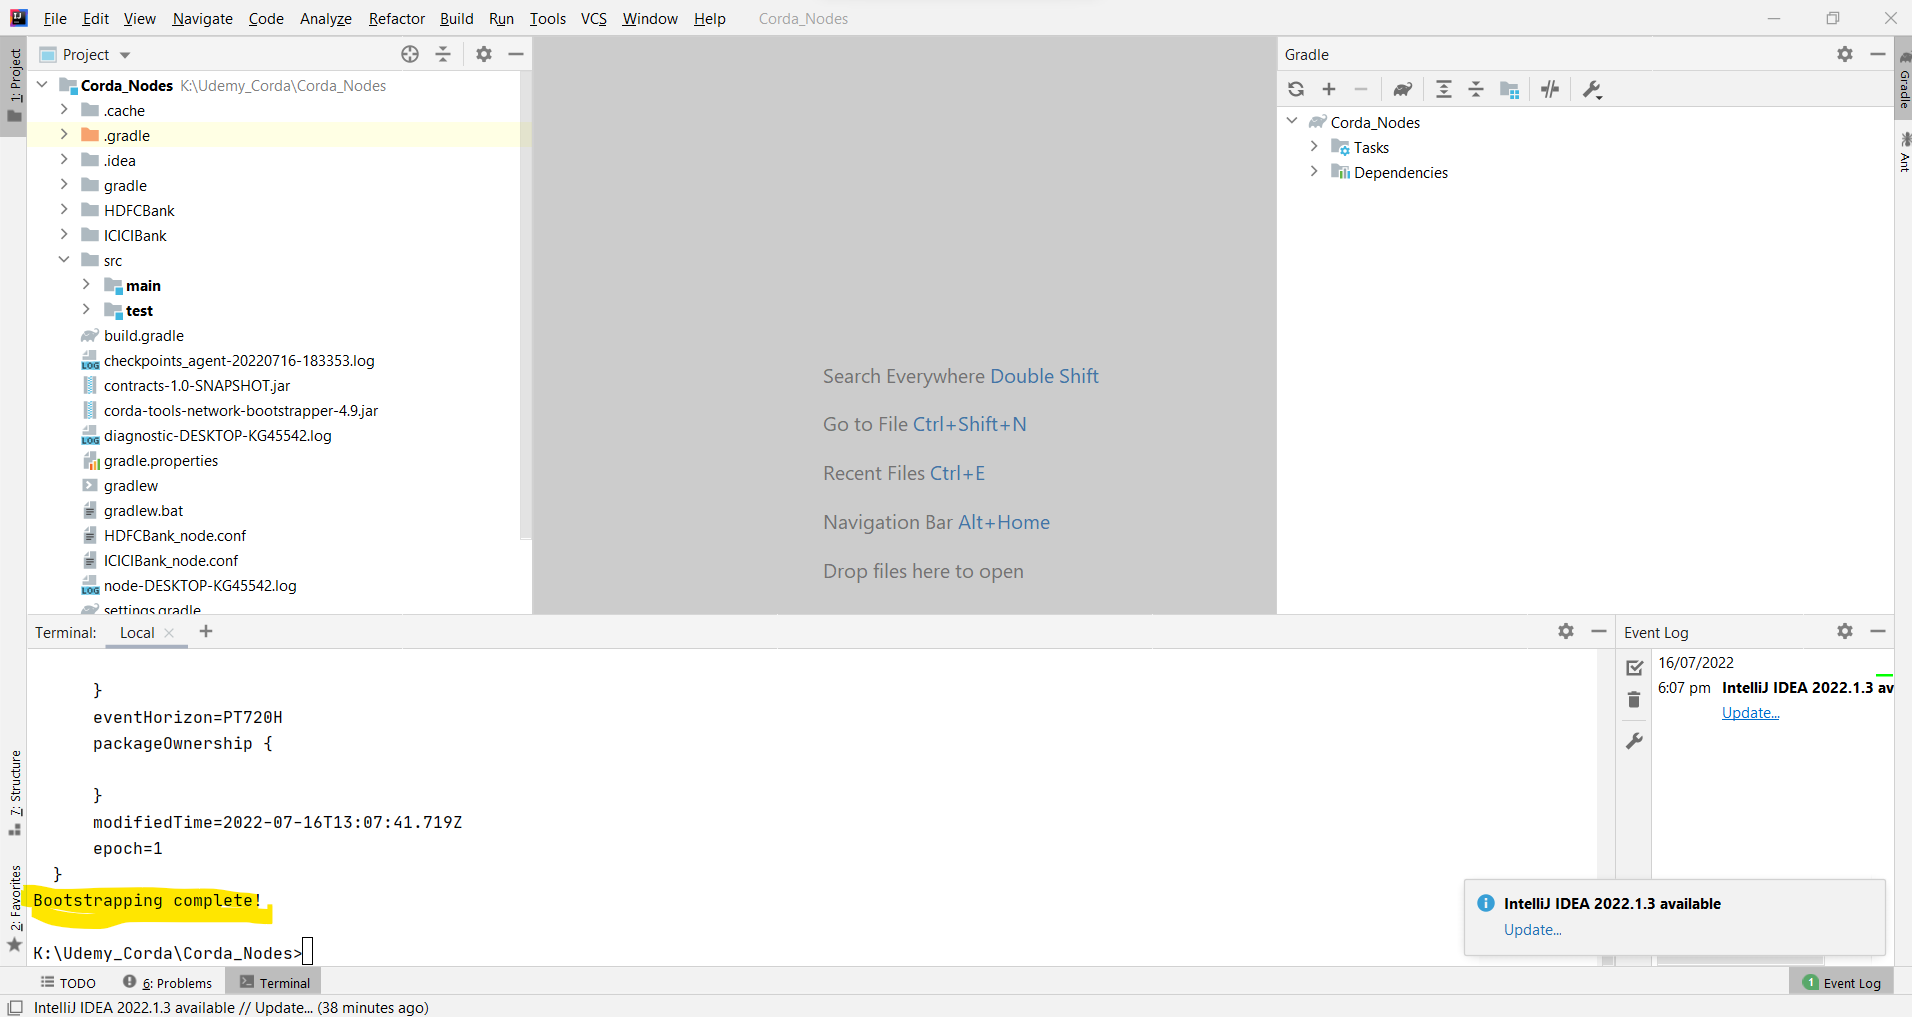
Folder Structure
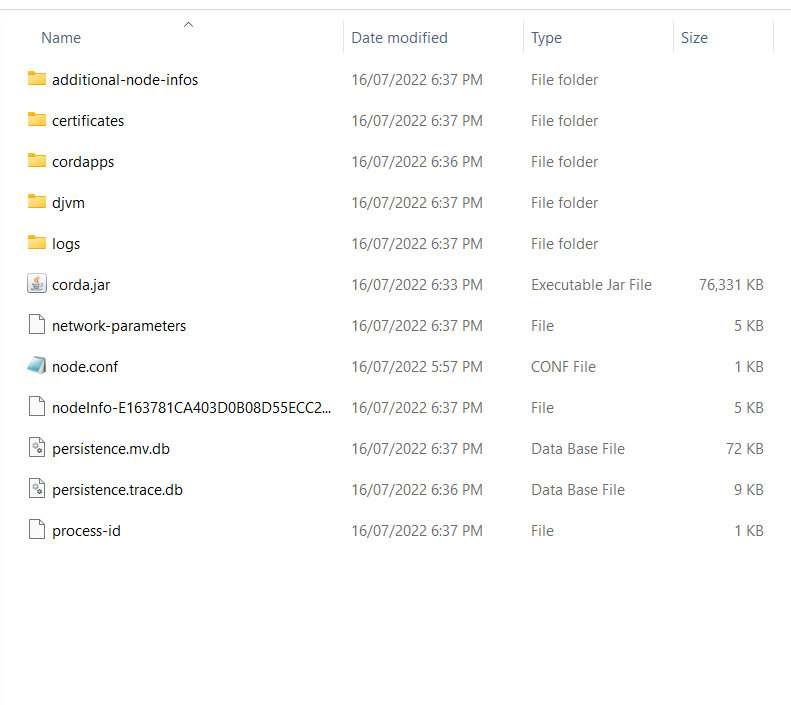
Go inside each node folder, for e.g. HDFCBank, ICICIBank and run below command
java -jar corda.jar
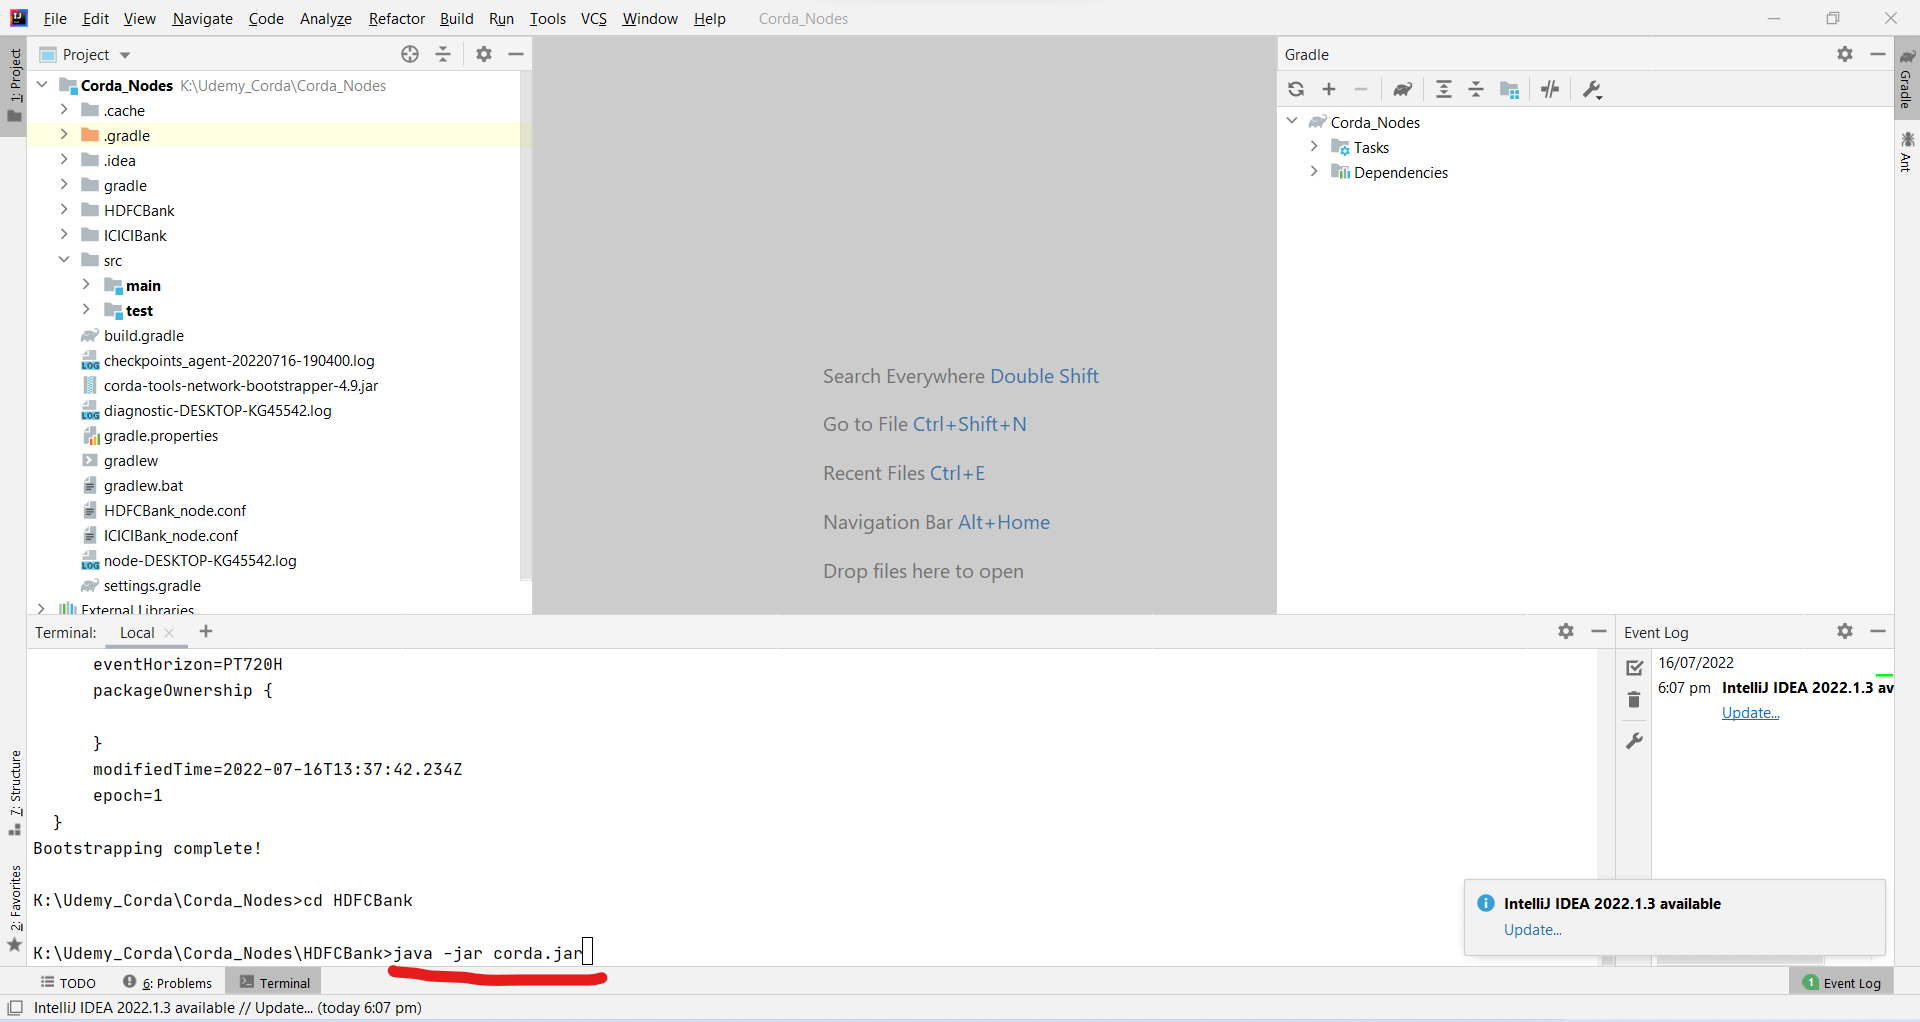
After the node start running we get below output
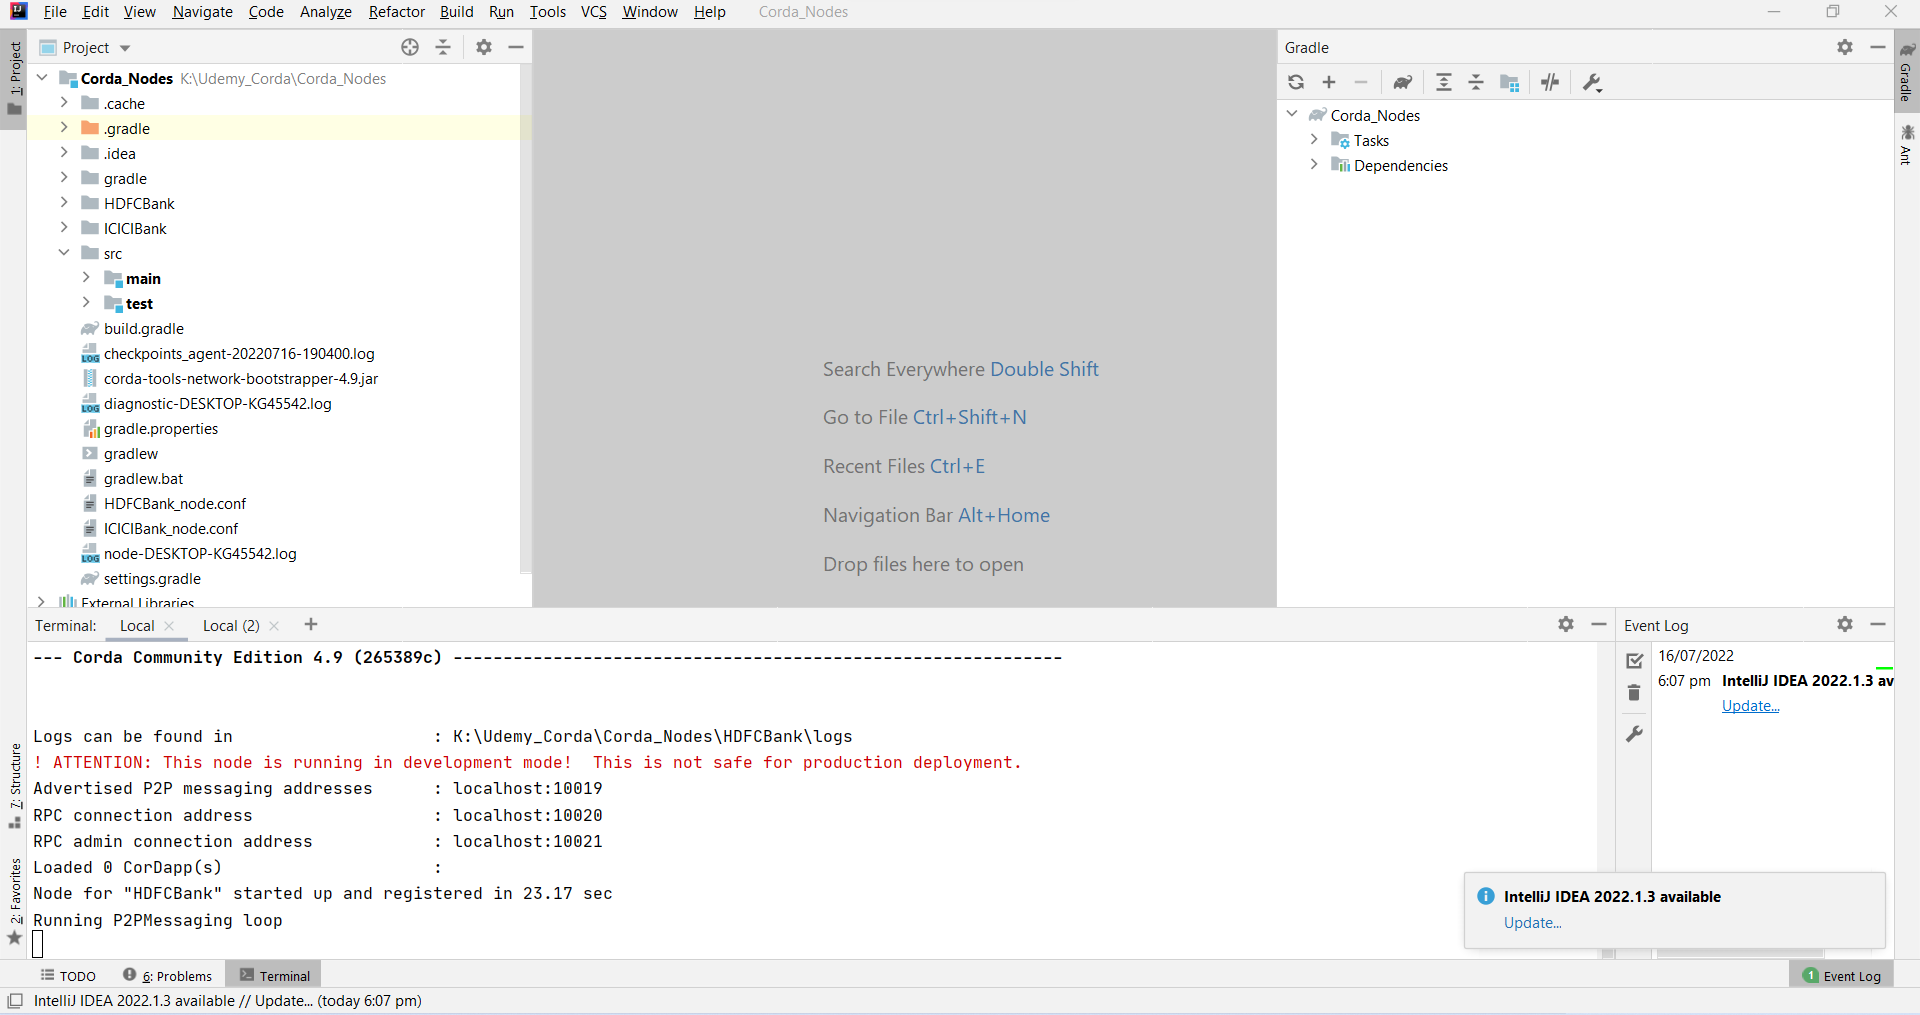
Now the above node once it is running, it does not have an interactive interface on IntelliJ IDE. To make it interactive, we need drivers to get it downloaded and place it in each node folder like below.
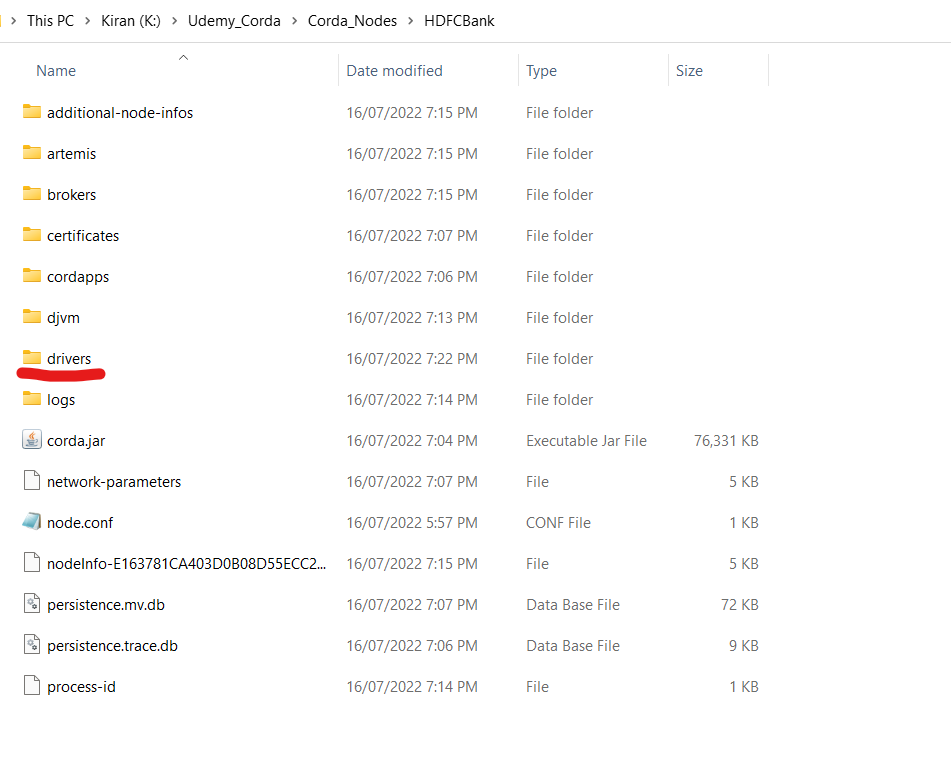
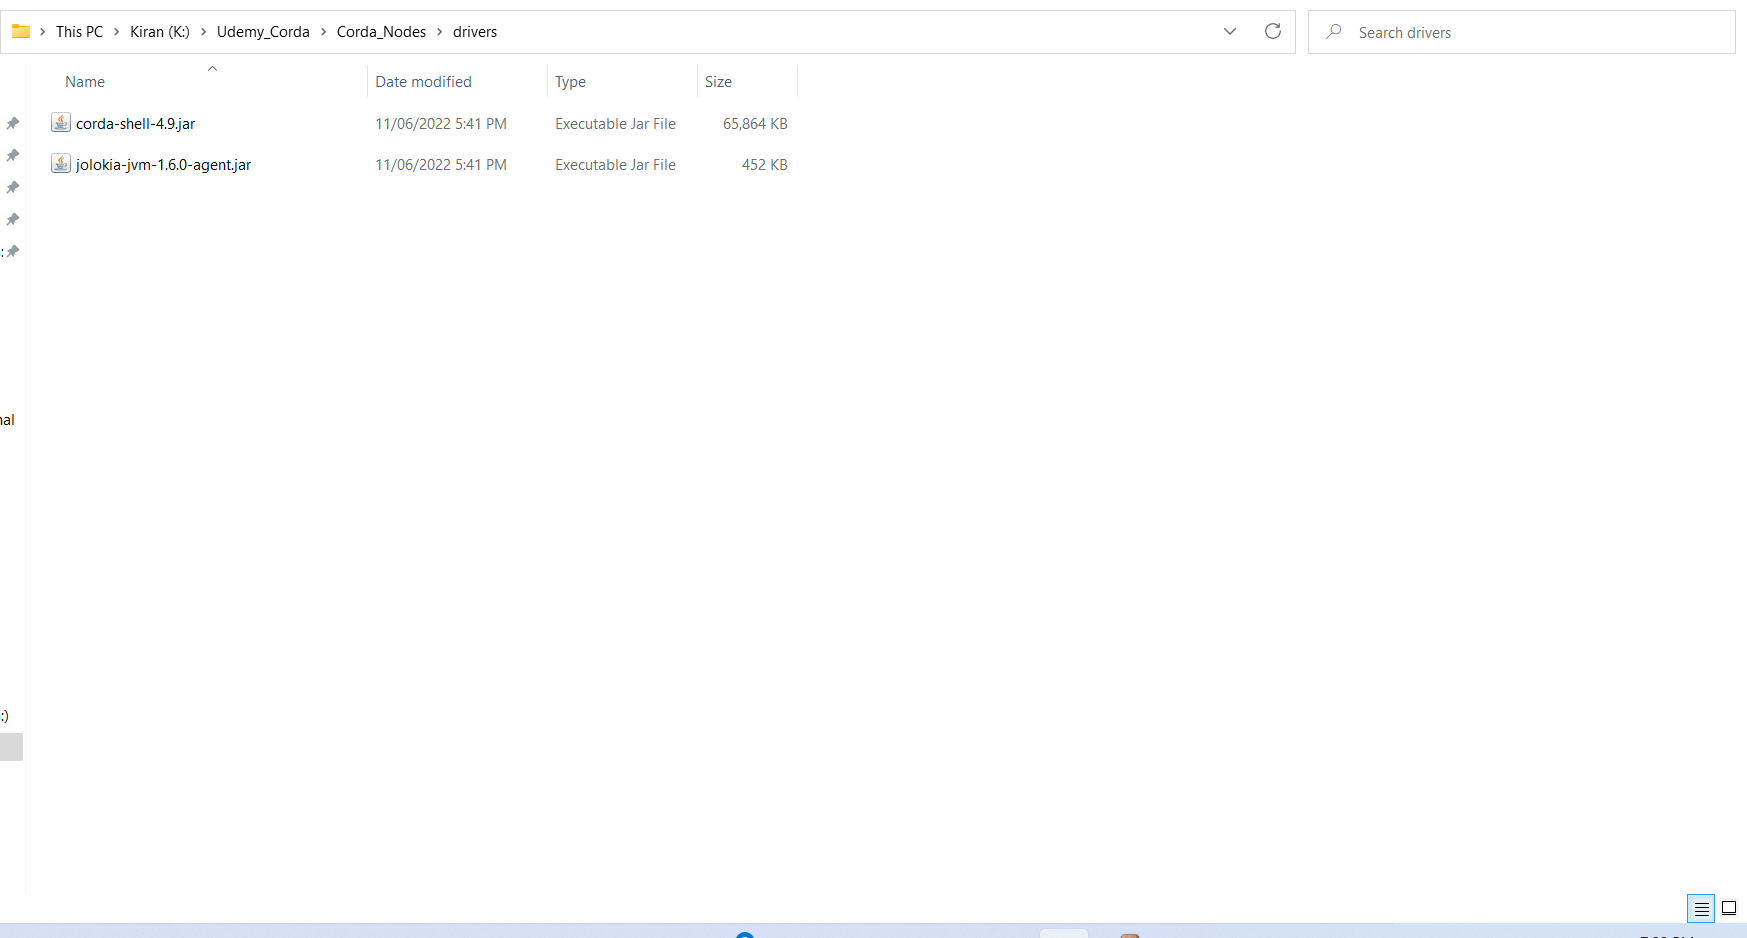
Download corda-shell-4.9.jar from this link
Download jolokia-jvm-1.6.0-agent.jar from this link
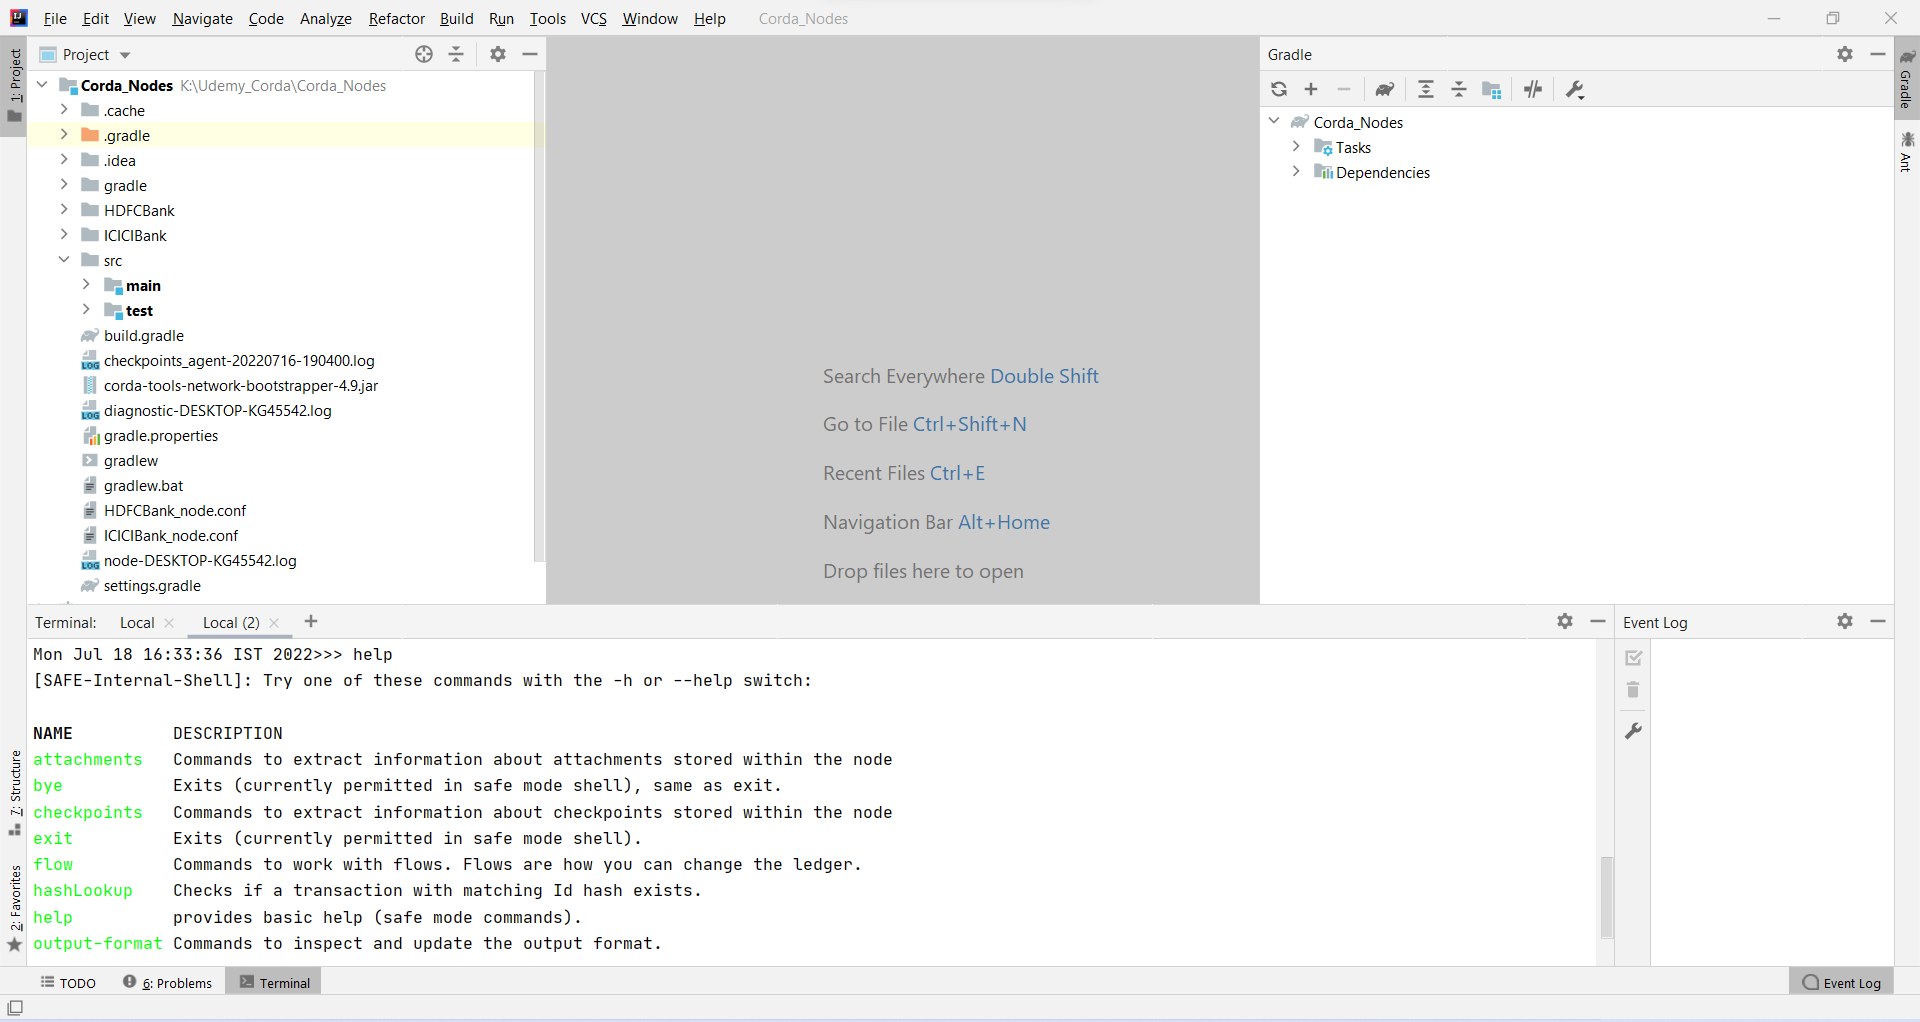
Type “help” and you will be see all the details of the command. This is the interface from where you can initiate transfer of bonds, asset and other digital asset, etc.
I will be back with some interesting blogs on R3 Corda blockchain soon.
Feel free to contact below, if you have any query.
Author Name : Kiran Sagar


